
No, this isn't a tutorial, just a few tips from a longtime sewer.
For stocking patterns, you can find any number online, anything from plain unembellished to perky-toe jester stockings.
Amy at Positively Splendid made hers small enough to hold flatware, but I like the curvy shape so adapted it for big stockings.

It was easy enough to enlarge on my printer. I can’t remember how much bigger I made it; I’ve been using it for several years. I just kept making it larger until it looked big enough, then moved the pattern around until I had several bits I could tape together to make a whole. The finished stocking made from my pattern works out to be 6” wide at the top, 15” from top to toe and 9 1/2" wide at the bottom.
For putting the stocking together, I found this technique at Diary of a Quilter.

This method works great with a lined, uncuffed stocking, like this.

For a simple straight cuff, here's another easy method from Sew Like My Mom.

This will be my new go-to for straight cuffs, but that’s not how I did this one.

I used the old put-all-the-parts-together-and-stitch-one-great-honking-seam-all-the-way-around technique. Like this.

The jester style cuff on this stocking came from a pattern I found at Sew 4 Home.

It didn’t fit my preferred stocking pattern so I adapted it my own way, with ruler and pencil. Enlarging with the printer would have been easier, but that would have required leaving the studio and coming back into the house. I had to weigh drawing with a pencil and paper against walking the 50 feet or so back into the house. What can I say? I'm a slug.
I drew out the pattern for this scalloped cuff too. I cut it from felted wool and didn't have to sew curves. Easy peasy.

This cuff was also from Sew4Home. Theirs has the point at the back; I put mine in the front. (The only alteration I had to make to fit this to my stocking pattern was to use slightly wider seams on the stocking. No biggie.)
I’ve used a number of upcycled fabrics for my stockings: the herringbone wool of the scalloped cuff stocking and the blue and brown wool with the hopsack cuff stocking were both found at the thrift store. The crewel for this stocking
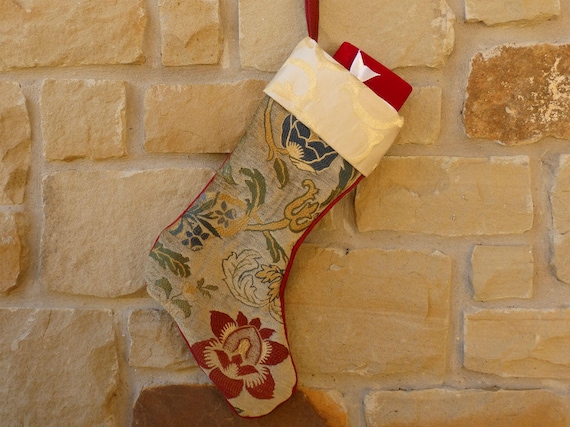
and the jester-cuffed plaid above were upholstery samples; this cream wool
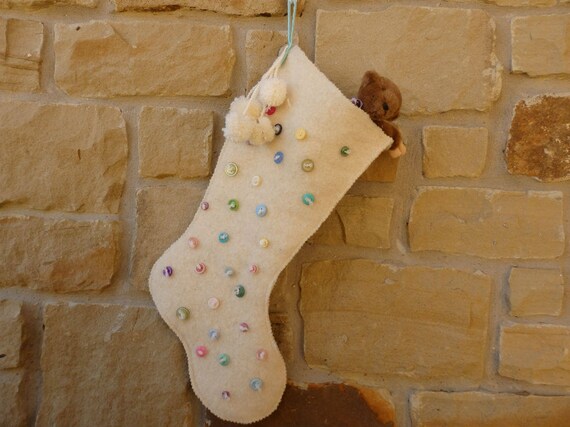
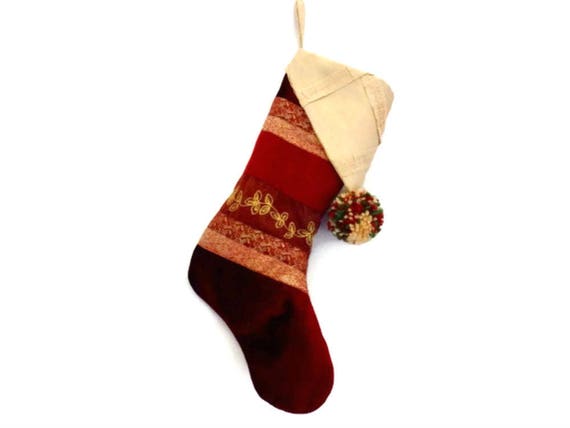
was a leftover bit of felted wool blanket, the one with the girl in the blue dress was made from pieces of embroidered doilies sewn to a muslin base, and the crimson velvet was made from an old table runner. The only new bit of fabric I used was the hopsacking on the blue wool.
For embellishment, I love the look of pompoms. I’ve tried a few methods in my time and have discarded them all for a tool I can always find: my hand. For small poms, I wrap the yarn around 2 of my fingers as many times as will give me the size I need. For larger poms, I use 4 fingers.
When adding poms to cuff points, I thread a strand of yarn onto an upholstery needle and stitch through the point. After wrapping around my fingers, I use the threaded yarn to tie the pom off, trim with cuticle scissors (The curved blades are perfect for this.), and voilà!

Tassels would also make good embellishments, as would trim. Or buttons as I did in the cream wool stocking.
Any sewer knows the imperative to iron the seams. It's as necessary in making stockings as in any other project, though not always as easy. I keep an iron on a small table next to my sewing machine, but I also keep a flat iron (hair straightener) nearby. It makes a handy small seam presser.

I made the small ham ages ago and it's bedraggled, but it works. (I have a large one as well, just don't need it often enough to keep it handy.) It'll fit for ironing in the cuff and top part of the stocking, but for the rest I use a rolled-up fragment of fabric--muslin works great.

Clipping curves is also important in stocking making. The pattern I use has lots of innies and outies.
Sometimes you just can't get around having to sew through varying thicknesses of fabric. There are tools you can buy that help with that, i.e. Hump Jumper and Jean-A-Ma-Jig.


I haven’t tried this--I do have a bodkin, but you know my constant complaint: in my studio, tools are rarely where they should be. My back-up has always been a safety pin, but I think I will give this a try next time my bodkin disappears!
This has been a long, photo-filled post--mostly because I wanted to show off my stockings--but I hope my tips will help someone along the way. Maybe putting them all in one place so you don't have to search the 'net for each and every one will be a good thing.