Thursday, March 22, 2012

Pinterest Challenge--Marbled Paper

I'm loving Pinterest--as who isn't. I found this post for making marbled paper with shave cream and watercolors at Bliss Bloom Blog and was determined to try it. I'd seen a similar technique on an old Creative Juice tv show with Cathie Filian and Steve Piacenza using tempera paints, but I liked the soft look of the watercolors.


I started with the cheapest shave cream I could find, maybe a buck at a dollar store. I had the watercolors in a little kit I bought a few years back, and I'll admit I didn't follow the directions exactly as given on the original post. I always just read through the post, then go out to my studio with a general idea of how to do it. So-o-o, my results are far from as lovely as the above image, but I'm liking it anyway. Here's what I began with:


On Bliss Bloom, she used a fork to marble with and a ruler to scrape off the shave cream. For the first sheet I made, I combed straight through with a hair comb--it's all I had in my studio. Also for the first one, I used the colors as they came from the tube: Prussian Blue, Scarlet, Yellow, and Emerald.


To scrape, I used a putty knife. I think the ruler would have worked better, but by the time I'd made it to my studio, which is like 50' from the house, I'd already forgotten what she used. I swear it's not poor memory; it's just not paying attention.

For the second sheet, I lightened the original colors with white and combed with a swirl motion, again using the putty knife for removal.


And for the last, I simply added a few spots to what was left of the paints in the shaving cream, using the last of what I'd mixed up, and combed the swirls in a different direction. I think this is my fave piece.


I'll definitely try this technique again, hopefully getting more adept each time. But next time I'll do it at the kitchen sink. I have no running water in my studio and I had paint and shave cream everywhere.

Now I'll use one of these as end papers on a book box as demonstrated by Gail at Can't Stop Making Things.


Isn't it lovely? I made a couple of these as gifts for my sis and SIL and failed to take pics. As I so often do. But I intend to make another in the next few days, again as a gift. This one I'll chronicle in pictures; I promise. Come see me soon for a view of how my papers look in a book box.

Monday, March 12, 2012

Make-dos

I've become fascinated by the principle of "make-dos." According to Old World Primitives, "A make-do is created using items that are immediately available, historically out of necessity. Make-dos can either be antique or new (often made to look old by primitive folk artists). They incorporate items that broke and were repaired using whatever was on hand, or broken parts that were used in creating something new. The most common make-dos are handmade pincushions added to the top of the salvaged bases of broken candlestick holders, oil lamps, or teapots.  Pincushion make-dos created by women who made do with what they had were prevalent during the 18th & 19th centuries."

Perhaps my fascination comes from the fact that my family were poor as I was growing up. We left poverty behind a long time ago, but the principles have stayed with me. I can spend a couple of hundred dollars on a handbag, and have done, but I'd much rather find a Dooney in a thrift store, which I've also done, than buy a brand-new one from an up-scale department store.

So when I'm at thrift stores, I always always look for things I can turn into other things. Luckily, I'm never disappointed. I've added designs to discarded pillows and made pincushions from miscellanea. Today, I want to talk about the pincushions.

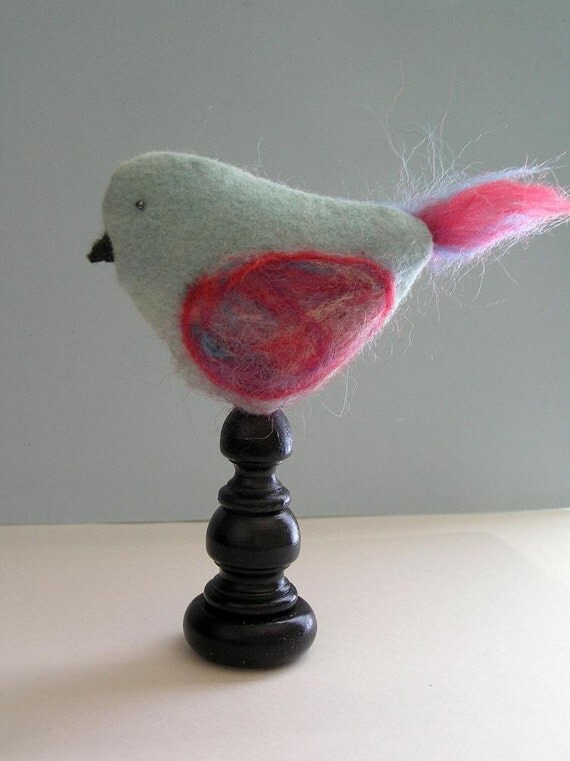
This first one, which I sold a couple of years ago, isn't truly a make-do. The bird was made from purchased felt and the base from wooden parts I bought at a craft store. Still, he looks as if he might have been a make-do, doesn't he?


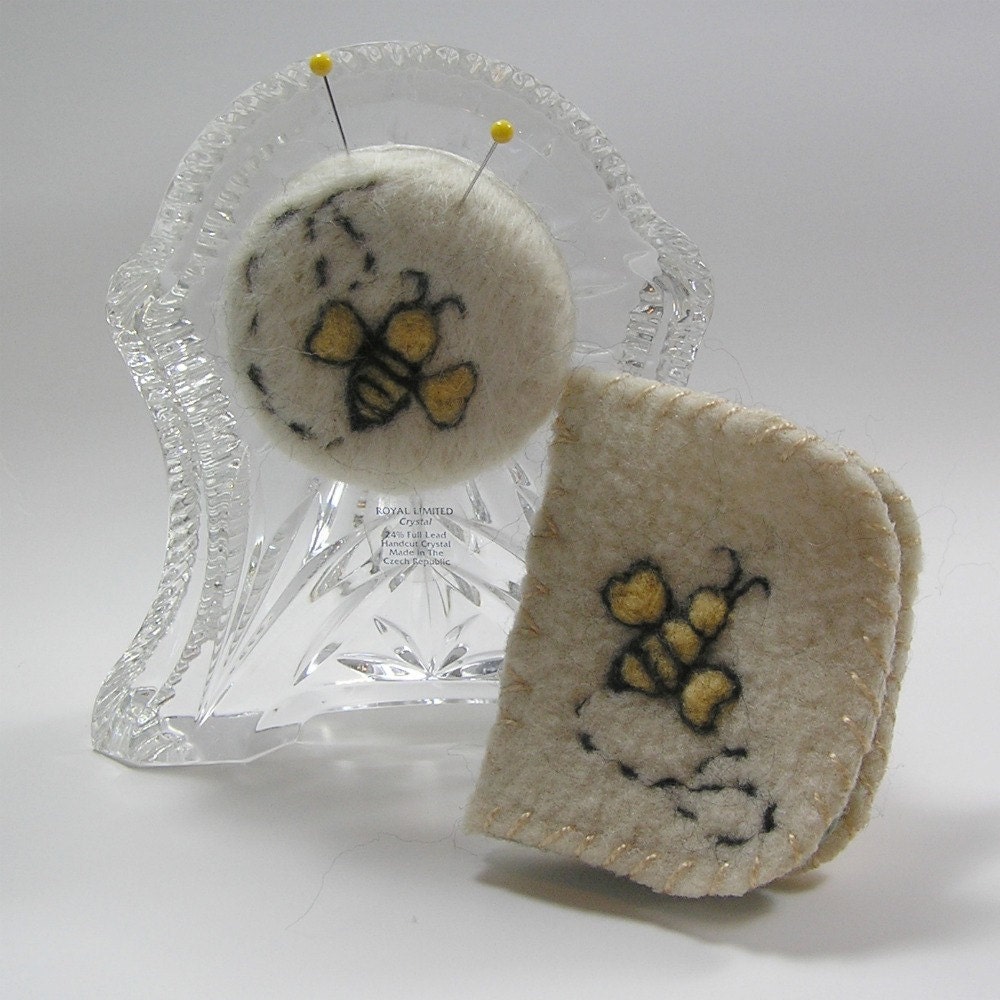
The next one I made from a crystal clock I found that was missing its innards.I think I paid less than a dollar for it.


I also think it turned out well. The pincushion was both needle-felted and wet-felted, the design needle-felted, as was the design on the needle book, which was made from a fulled wool blanket. You can find the set for sale here

The last one I'm showing today I made using a crystal and silver coaster I picked up the same day as the clock, probably for about the same price. Once part of a set, it was all by its lonesome when I found it. I knew at once it'd make a great pincushion.

For it, I used another piece of that old hand-stitched quilt I spoke of last post. Trying to save the largest portions for another use, I was forced to use a piece that had a big white block at the center with only some of the colorful blocks around the edge. So I embroidered a few bullion roses on the white.


The needle book I made from a teensy scrap of the quilt onto which I sewed a doily I began and never finished many years ago. I really hate to discard anything!

What about you? Do you fancy remaking things? I'd love to hear your comments!

Thursday, March 8, 2012

Yoohoo! It's me.

At this point, I've been gone so long I feel like a new blogger! If my silence were testament to anything, one might think it would be to a lack of work on my part. Partially that's true, and partially not.

I've dug out a number of embroidery...what? I'm going to call them "wall hangings." I did a lot of them back in the '70s and '80s, because they were a cheap way to create wall art. Now I think I'll sell them, or rather try to.

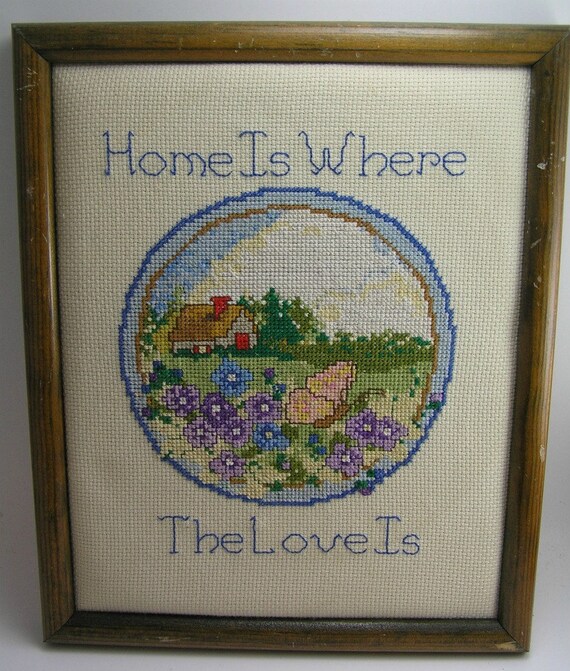
This one I listed in my Etsy shop, though it's inactive now. I believe it needs a different frame, maybe something painted with ASCP (Annie Sloan Chalk Paint).


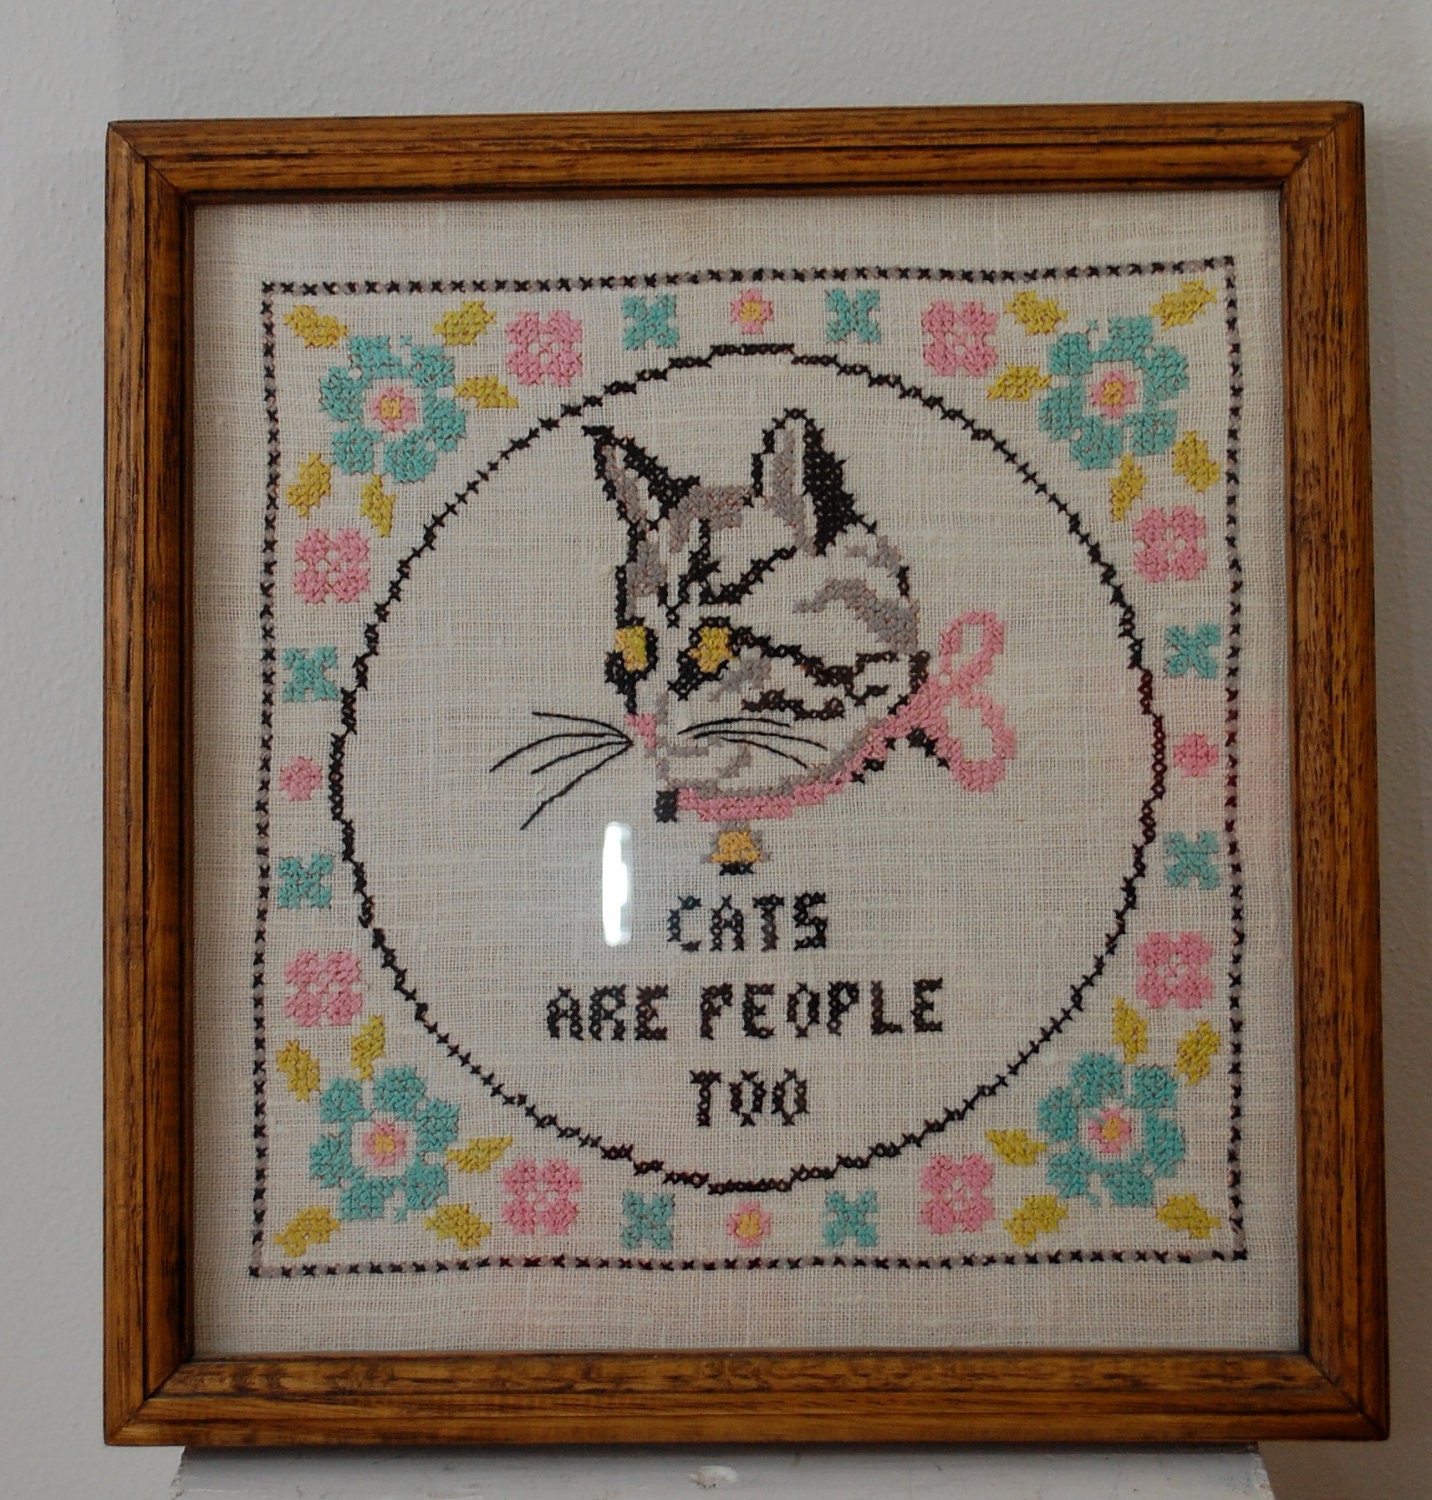
The next one's not mine, though I have one like it, except the frame's different. I completed it in the late '70s--I know this because a dear friend I met in '77 gave the kit to me shortly after I met her. I think it's the only one I had professionally framed.


A number of others have the cat motif--you wouldn't guess I love cats, would you? I think I'll reframe all but the one above--the one professionally done. I'll show them here as I finish them, if anyone's interested.

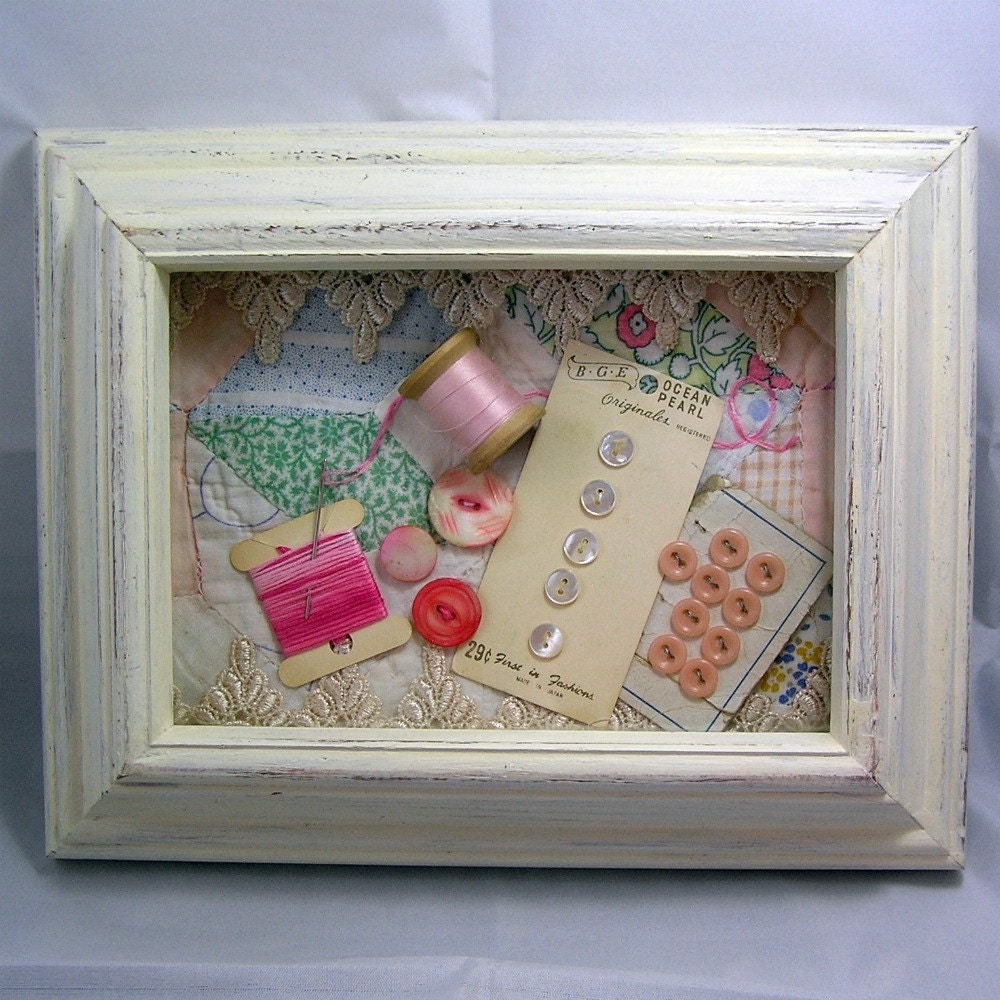
One thing I have done lately, using the ASCP, is this shadow box. I picked up a frame, dating back to the '80s if the framed artwork's any proof. I bought it simply because it had the depth to be turned into a shadow box. I like the end result.


I used an old remnant of quilt for the backing, including some cards of buttons picked up from a local thrift shop, and some miscellaneous dyed mother of pearl buttons I had in my stash. The embroidery thread card probably came from the early '90s and the wooden spool of thread from the late '80s. (Maybe I should call it a history of my sewing life!)

And that's all, folks. (Gotta ease back into this blogging thing, doncha know.)